
George’s Geodesic Greenhouse project July and August
| Project home | March to June | July & August | September & October | November & December |
Sunday, August 12, 2012
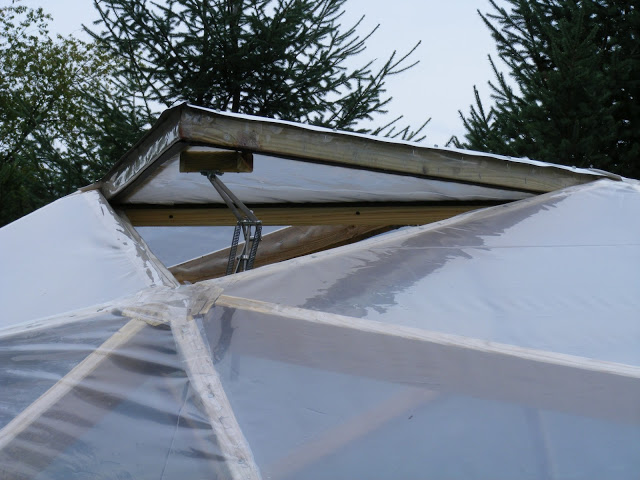
Constructing the vents
Special attention to build the vents so they will be weather-tight when closed.
First, I ripped a 2×4 into 3 equal parts. Two thirds will make the vent window and the last third will be the stops inside the frame.
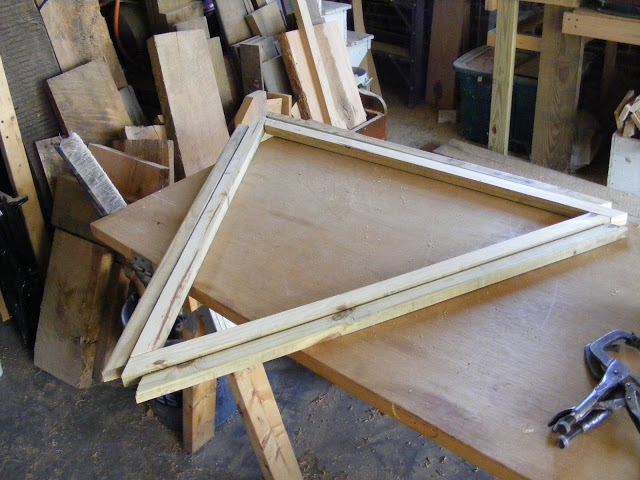
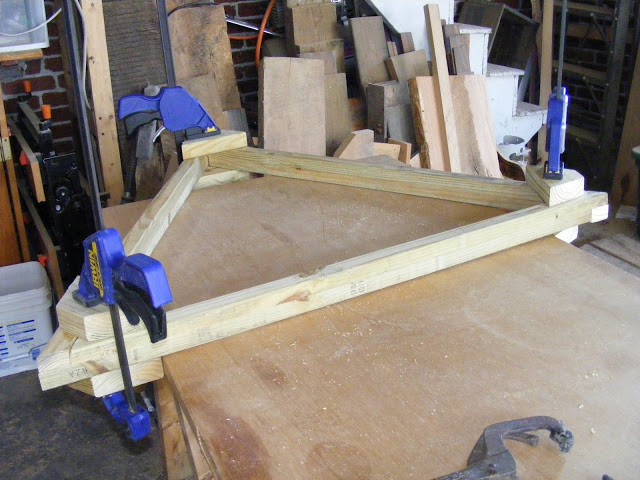
Here are the two-halves reassembled for added strength. Notice the overlapping in the corners:
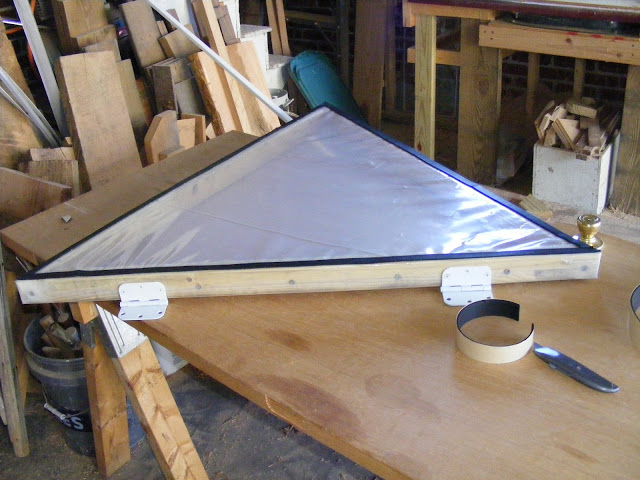
Here is the vent with weatherstripping on the bottom with hinges installed. I wrapped both sides of the frame with 6 mil greenhouse film (4-year) and stapled then taped the edges. The entire assembly is less than 10 pounds and should work well with an automatic vent opener.
Tuesday, August 14, 2012
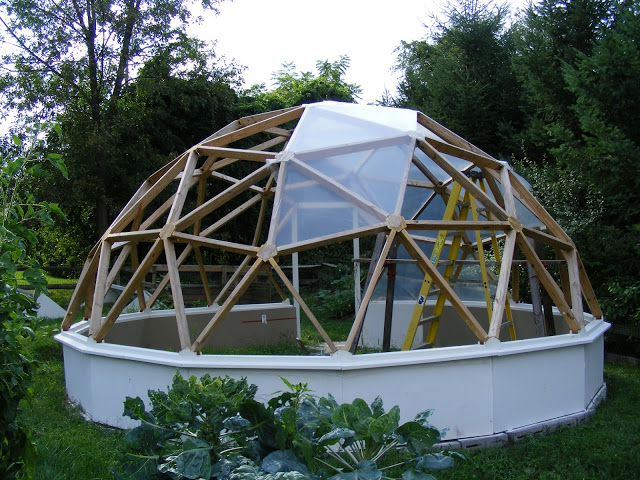
Started with Glazing
I am taking it in small chunks, maybe 2 or 3 triangles at a time so that I can get it as tight as possible. I am working very slowly to get a good fit.
Friday, August 17, 2012
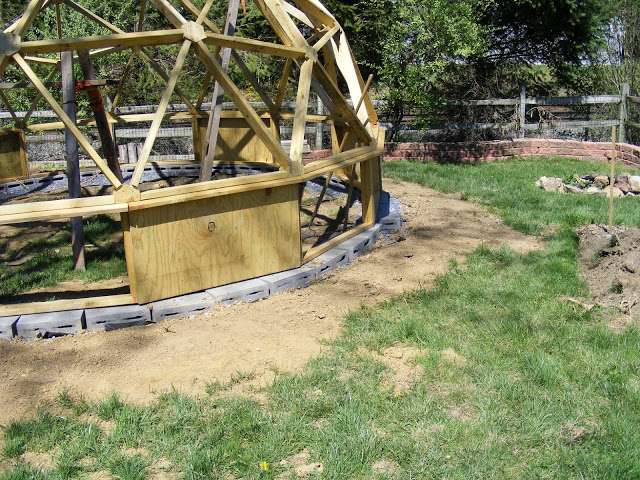
As I am nearing the completion of the outer portion, I would love your feedback. There are not enough people out there with any interest in this sort of thing to bounce ideas off, but maybe a few of the followers on here can offer some help.
1. In planning to insulate for winter, I’m not sure what to do about the perimeter where the wall meets the ground. As you can see, I laid the block the dumb way on its side so the whole bottom is open. What can I fill it with?
Saturday, August 18, 2012
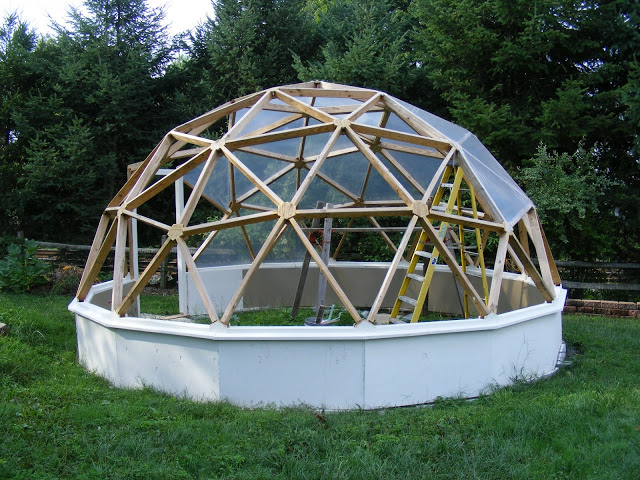
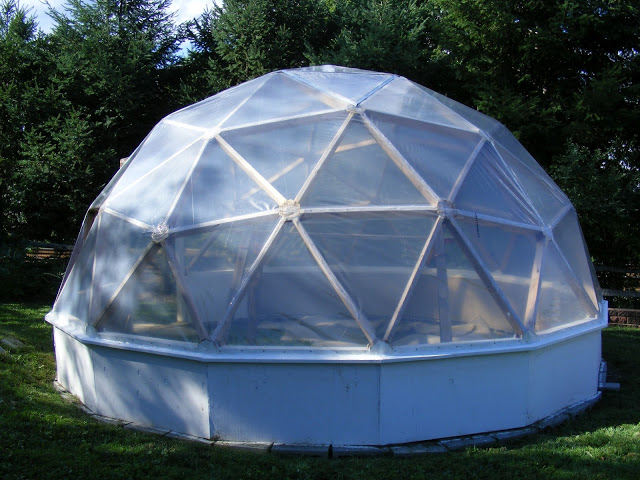
Covered!
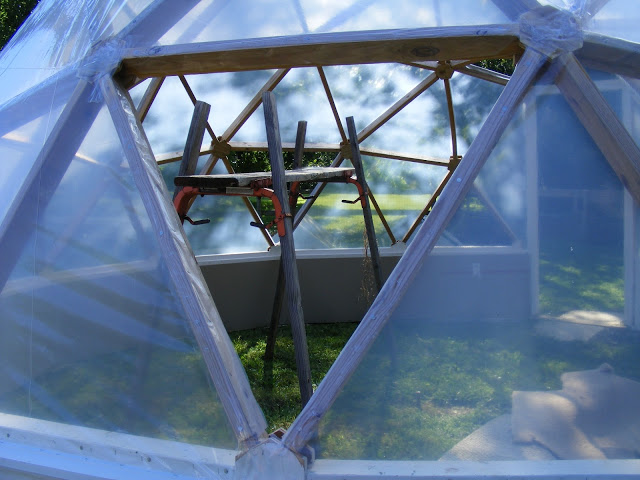
Just a few odds and ends to complete. The 2 top vents are in (I am waiting on an automatic opener) but I still need to build the bottom vents, install a fan, and cover over the door. You can see above how each seam has been stapled, nailed, and taped.
Saturday, August 25, 2012
Automatic vent opener
I found some wax-filled piston vent openers on eBay for $35.00 shipped. They are expensive but necessary. My first greenhouse overheated so quickly, even on cooler days, when the sun was out. Compared to the cost of temp sensors and a motorized system, this is incredibly an incredibly cheap environmental control. Besides, no electricity necessary.
Saturday, August 25, 2012
Starting the pond
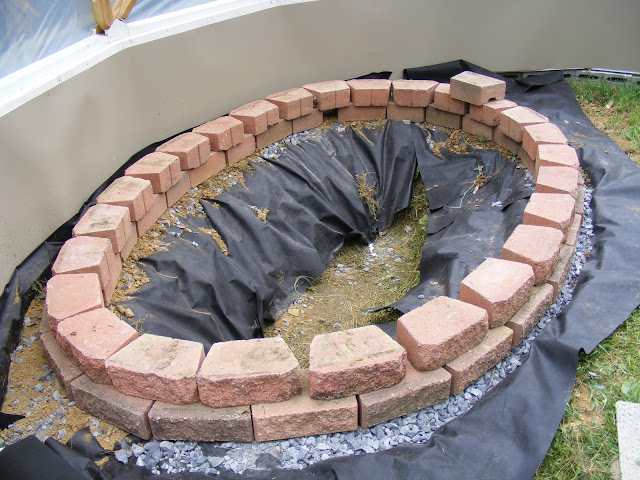
Also known as the thermal mass, my pond will be about 500 gallons (if I figured correctly) to help regulate temperature in both summer and winter. It will be about 32″ deep,10″ above ground and 22″ below, and is 5′ wide by 9′ long. Most thermal greenhouse systems utilize black 55 gallon drums, a wall of milk jugs, or an above-ground tank with sheet metal walls. The reasoning behind all three ideas is thin walls and tons of surface area for maximum heat transfer without taking up much growing space in the greenhouse. I am using about a third of my square footage for the pond, but most growers aren’t interested in hydroponics or aquaponics. My pond will serve for both, plus I have plans to build an NFT system directly above the pond. I do hope that the water will stay sufficiently warm in winter…
I scavenged the red stones and have been looking for a way to use them. My yard will look nicer without the stones piled in the corner. I plan to do 3 courses of blocks, then lay the liner, then a final course of block on top of the liner.
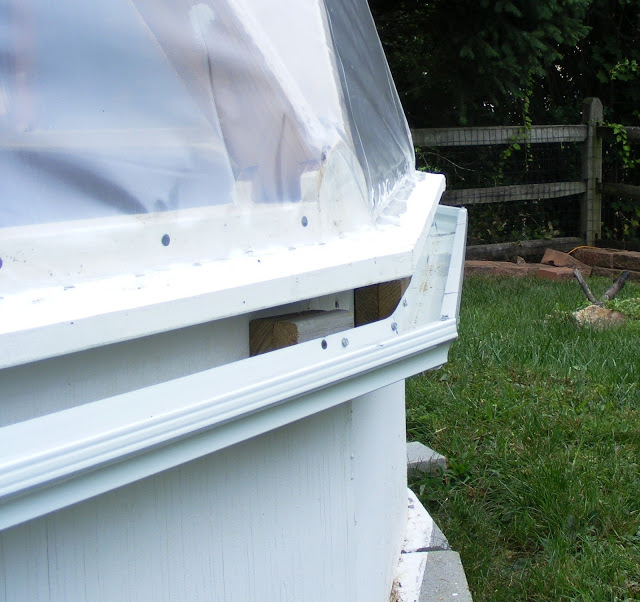
I have also run gutter completely around the greenhouse. This will drain rain water into the pond. More to come with that project!
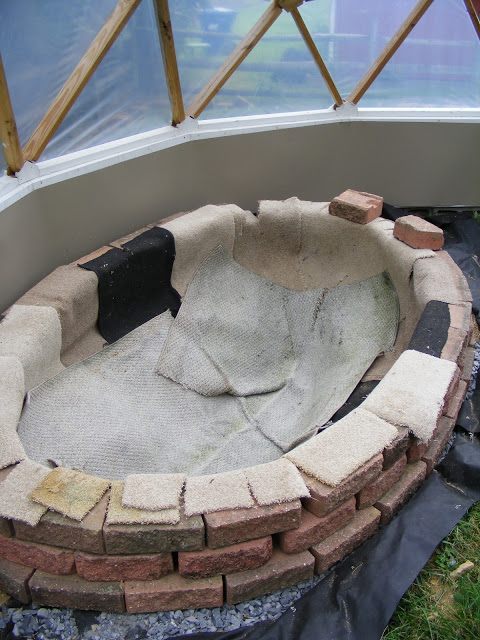
Pond Underlayment
Otherwise known as carpet! I have just ordered the 45 mil EPDM liner. It should arrive in a few days from Maryland. Plenty of time for me to plan the rain collection system…
| Project home | March to June | July & August | September & October | November & December |

