Tools and Equipment
This page describes the equipment used in building a geodesic dome. There also links to other sections of the site on how to use the various tools and equipment.
Planning
Always the most important and first step in any project. When you decide on building your geodesic dome you must decide on the size of your structure, what you will use as struts, and of course where you want to put it.
The calulators available on this site will help you in deciding on what dome type best suited for you and your budget. Each calculate displays everything from strut length, bending angles to estimates on how much your structure and covering will cost.
You’ll need space to build!
The next step is to get your materials and the equipment for construction. One important factor to consider is the space you’ll need to make the struts. More often than not, a garage is ideal for this. Just make sure it’s fairly empty because if you plan on building a dome bigger than 15 feet in diameter, expect a lot of pipe lying around. For example, a 30-foot 4V dome requires at least 1100 feet of pipe/lumber. That’s 100 pieces of standard pipe length or 100 10-foot 2″ X4″, 2″ X6″ or 2″X 8″.
And space to make your cover!
If you are making a cover for your dome, then it’s probably a fabric for steel structures, or for timber domes plywood or OSB sheets cut into triangles. Either one requires a lot of space. That 30-foot geodesic dome has more than 1400 square feet of surface to put a cover on top of it, or put another way it’s 22 sheets of plywood/OSB or 286 feet of fabric or film from a 60-inch roll..
Once it’s ready to assemble…
Then space for cutting it, then bending, then flattening… Actually it’s not as difficult as you may think, but it does require good planning of your workspace.
If you build a geodesic dome out of pipe like EMT conduit, then different tools are used than building a timber dome. From cutting to assembly the processes are very different in making the struts.
Where both timber and steel geodesic domes are similar is in the anchoring. For permanent structures concrete piers are poured into tubes. The bigger the dome, the more likely you should have a pier at each vertex (hub).
Now that you have an idea on what you need to plan for, let’s move to the next step.
Cutting
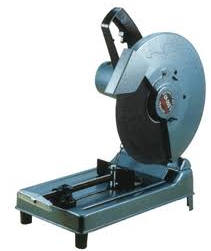
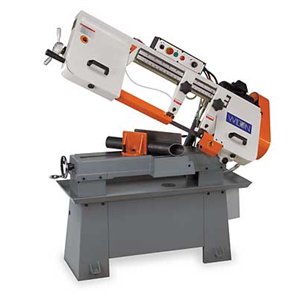
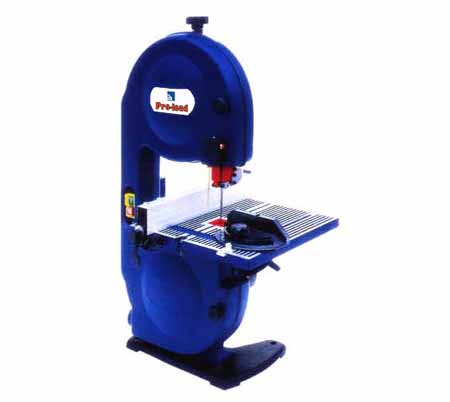
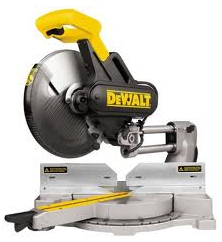
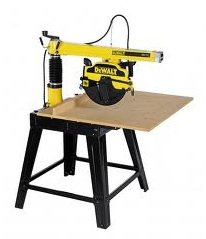
Cutting is straightforward: you measure then lower the blade on your piece. But one factor is critical: your strut measurement need to be absolutely precise. This is why the geodesic dome calculator give measurements with 3 decimals. To ensure each strut is the correct length, you should use a jig or at least position your guides firmly so that one strut is the same every time.
Cutting steel struts
There are a few ways to cut dome struts. The simple way is to use a cut-off saw, also referred to as a hack saw (first image above). A large abrasive disc slice the pipe quickly
The second and third images above are band saws, one horizontal like image #2, and image #3 vertical version. A ribbon with sharp teeth continuously turns and lowering the arm will cut the pipe. Often this equipment has guides to help you cut the same length every time.
Cutting wood/timber struts
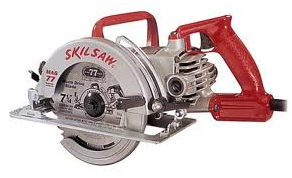
The last three images are for equipment used in cutting wood struts. If you do not have or plan to use metal hubs to connect the struts together then you need to make compound angle cuts. By this we mean to cut in 2 directions. A mitre saw (image #4) can be set to do this, although a radial arm saw (image #5) is more precise and stable. Lastly you can also use a worm saw.
When cutting wood panels for your dome cover you’ll require traditional saws but keep in mind you will need a minimum of 2 cuts per triangle angle, and if you want them to fit tightly with each other, then consider you may need another 2 cuts to bevel each side. In short: 2 cuts for each tip, another cut on the length of the struts to make the sides fit to the other strut.
Flattening
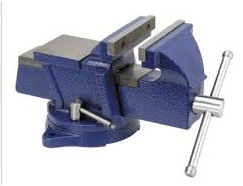
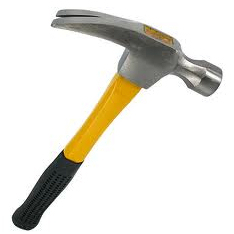
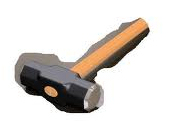
The first thing that comes to mind when hearing you need to flatten your steel pipe ends is a good old hammer. Except that you will find it to be a loooong process and preciseness is not easy to get by slamming down a hammer on EMT or galvanized steel pipe.
Then you may think of using a vise. Seems simple enough but it’s also not very precise but easier than a hammer.
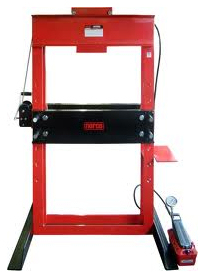
The best, fastest and most precise method is to use a press like in image #4 above. “You can borrow one from a friend, purchase one at a reasonable price, or get your local machine shop to do this for you (but that may cost more than you expect in a DIY project).
Whatever equipment you choose to flatten ends, there is one important factor: do not flatten the ends on a flat angle. Look at the image below to see the correct way. This is especially important when flattening EMT since the rounded flattening increases the strength of your end. It is also important when building larger domes since the proper flattening decreases the chances that your geodesic dome will buckle.

Drilling
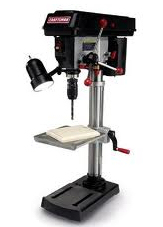
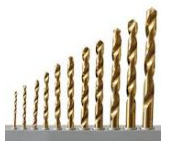
Simple enough step where all you need to do is bring down the drill bit to pierce your flat strut end. You only need one single position for any of the strut you drill, whatever the length it is. You select the bolt size to use and make a hole slightly larger. You’ll need very good accuracy and repeatable results, so avoid using a hand drill at all costs. As for drill bits, you may want to get 2-3 spares since you’ll be doing a lot of drilling. For example a 3V dome, whatever size will require 165 struts, then multiply that by 2 (each strut requires 2 holes) for a total of 330 holes!
Bending
This will probably be the simplest step when making struts. Once your ends are drilled the last thing left to do is bending the struts at the correct angle. For detailed information about this topic, click onthe button below.
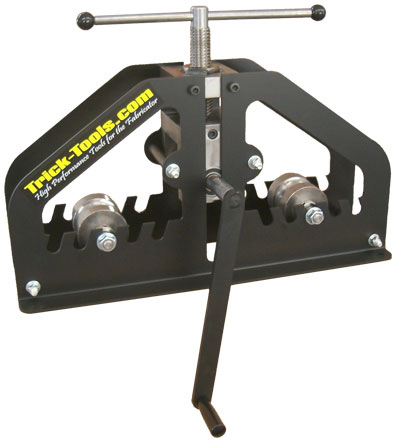
The best way is to use a vise and bend each end by hand. A stopper made of wood or metal will restrict how far you can bend the pipe. You’ll need a few test tries before getting the angle right, keeping note that when you bend pipe there is a certain amount of springback. You can compensate by letting the pipe bend a little more than the actual angle. That’s where the stopper comes into play.
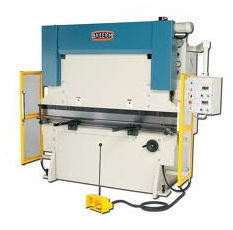
If you have access to an industrial bending machine such as image #1, the process is simpler. You set it for the specific angle and the machine keeps that setting for all other bends.
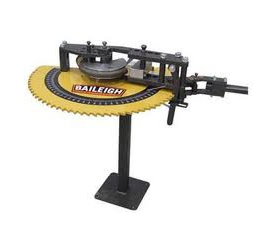
There’s more to bending pipe. You will probably want an entrance for your dome. In that case a circular pipe will do the trick. Because it will touch multiple struts thereby spreading the weight pressure evenly. You can rent or purchase a pipe bender almost anywhere.
Covering your geodesic dome

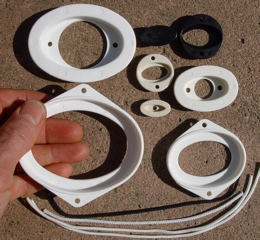
If you plan on a timber dome it”s almost certain you will use plywood or OSB to cover it, maybe even some plexiglass for windows. This section focuses on fabric or film coverings which are mostly for steel geodesic dome structures.
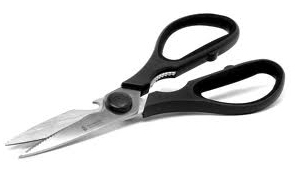
The first 4 images above are the tools and equipment you need for canvas or tarp covers. Obviously you’ll need scissors and probably also a cutting knife, then a standard sewing machine will join sections together. An industrial machine may be required if you plan on using a thick tarp or fabric.
To tie down your cover there are several types of “clips”, One of them used successfully to use a for tarp over a geodesic dome is the Gripclip system sold by Shelter Systems as seen in image #3 above. They invented it and it has proven itself countless times.
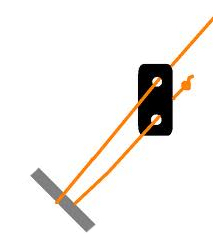
Image #4 is an example of a tension method for the geodesic dome cover. It’s a basic solution. In domes requiring a tight covering an alternative is to have grommets located all around the base then a rope is inserted all around. There are naby variations but the goal is the same: put the cover for looks and for shelter.
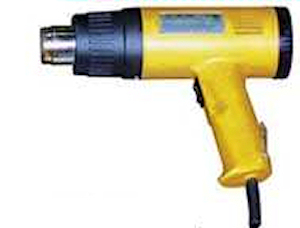
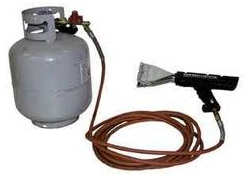
A special note for vinyl tarps: this fabric can be heat welded or sealed. Image #4 is a typical heated air gun used to fuse two pieces together. You can get more information on this in the tarps section by clicking on the button below.


