
George’s Geodesic Greenhouse project
| Project home | March to June | July & August | September & October | November & December |
This project describes George’s 21-foot (6.5 meter) geodesic greenhouse he built in 2012. This is no regular DIY project: George built more than just a shell: he added all the important features and best of all, it is all well documented with text and images at every stage.
We will let George describe his adventure in the following pages. Simply click on the links at the top of each page to follow George’s project’s timeline.
Here is a rundown of the costs George incurred to build his geodesic greenhouse:
Greenhouse cost sheet
1. Excavation – $300
2. 4″ drainage tubing – $60
3. 3 tons stone (2a) delivered – $68
4. 8 sheets pink board 1″ – $120
5. gray block, 4x8x16 – $25
6. Plywood, 2×4′s, screws – $500
7. Caulk and paint – $75
8. 6-mil greenhouse film – $90
9. Greenhouse seam tape – $50
10. 45 mil pond liner (11′x16′) – $140
11. 2 automatic vent openers – $80
12. 2 tons stone (2a) picked up – $21.00
13. Reflectix 80′x4′ – $80.00
14. Second Layer Greenhouse film – $50
15. Solar Charge Controller – $21.00
16. 12V DC Distribution Panel – $28.00
The project started a little before March with the initial excavation work.
Sunday, February 26, 2012
Excavation
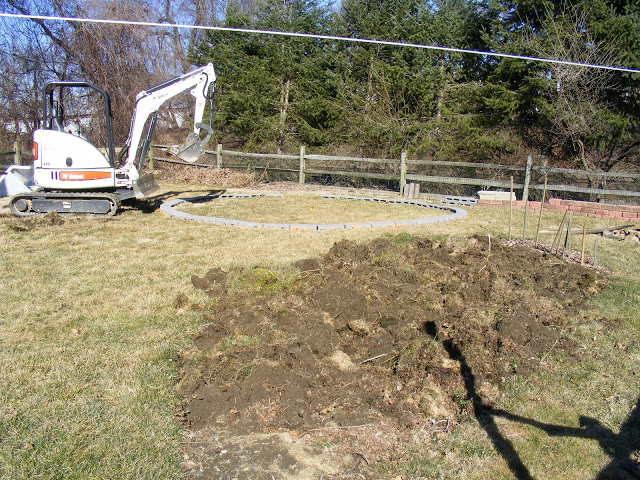
I decided that while I had the excavator at my house, I would expand my garden and turn it over.
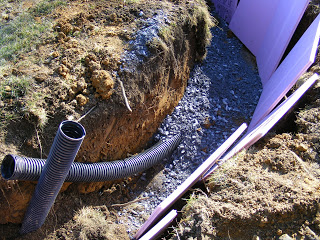
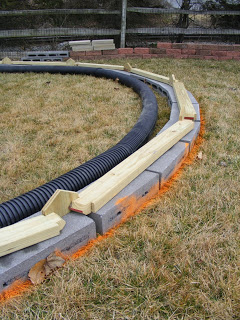
After digging the trench around the perimeter, I dropped in the air tubes and back-filled with some 2A modified stone, and then lined the trench with 2-foot sections of pink board overlapped.
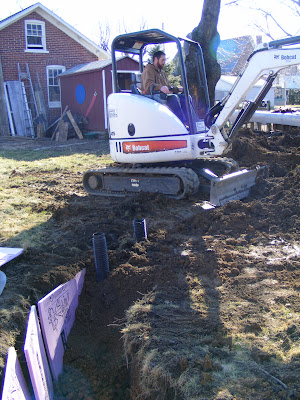
After back-filling, the two 30-foot sections of tubing stick up out of the ground on opposite sides of the dome. I thought it would be better to have 2 shorter tubes for heat exchange than one long one.
Now I know that you should always take estimated completion time and double it, but this was ridiculous. A circular trench, working in a tight space, and no experience all made for a very long day! Geoff, if you’re reading this, thanks again. Getting to drive the trackhoe is fun for a while, but after 6 hours it’s just another hard job. I couldn’t have done it without you!
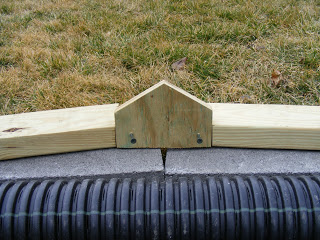
Mockup of base
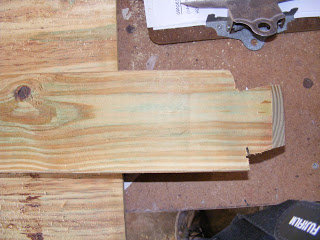
Each strut will be cut with at a 12-degree angle, recessed so the connectors fit flush.
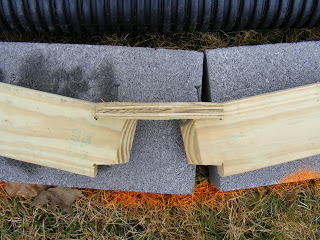
For the mock-up, I have only attached a connector on one side.
I will have to disassemble all before I start to dig, but I needed to know the exact diameter of the greenhouse.
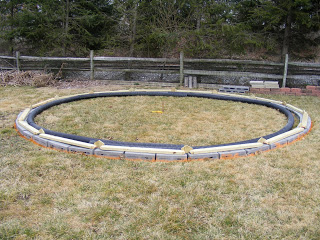
Here is the completed mock-up. With the added length of the connectors, total inner diameter is 18.5 feet. After centering the blocks that will become the base, I sprayed the outer perimeter orange.
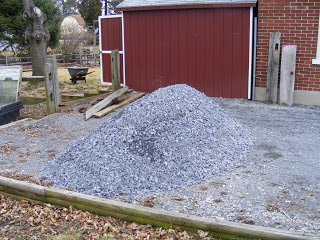
3 yards of stone to protect the underground tubing and make the floor of the greenhouse. It doesn’t look like it will be enough, but I will make it work.
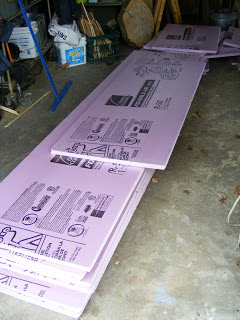
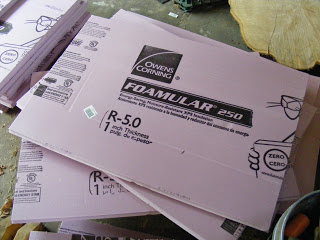
1″ foam board, cut into 24″x36″ chunks. This will protect the foundation perimeter from frost.
| Project home | March to June | July & August | September & October | November & December |

