Concrete Floor
View geodesic dome foundation plans at the end of this page
Local contractors can pour a dome foundation because to them it’s just another job that happens to require a round shape. But if you want to do it yourself, there are many books, videos and websites to help you. Just remember that in many cases you will require a permit from local authorities. Here we do an overview of the process and requirements.
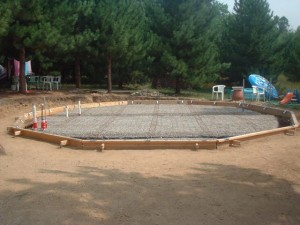
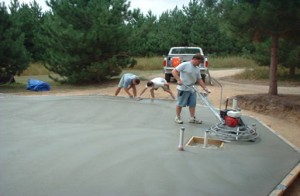
These images are from EconOdome, a popular pref-fab geodesic manufacturer
You can pour a slab with footings or just piers. This depends on the climate, size and use of the structure. Typically a dome that is not intended as a home only requires piers.

Do you really need a concrete slab?
Smaller domes don`t even require piers; rebar shaped as a candy cane pounded into the ground will be sufficient, ground screws will also do the job, even concrete blocks around the dome or barrels filled with water will do the trick. But for a permanent installation concrete should definitely be considered.
The point of having a foundation is to hold a structure in place premanently and have a working surface. Foundations are not always required for geodesic domes, but you should have an attachment point at each ground vertex (or hub), especially for larger dome structures.
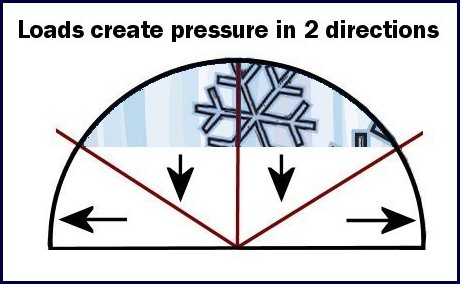
A geodesic dome structure distributes the load but the pressure goes down to the base due to its shape and also outwards. The larger the dome, the greater the need to attach each vertex point to the ground.
Here’s an argument for a solid base for your structure: the loads on the Eden Project in the U.K., the world’s largest complex of geodesic biodomes surprised the engineers.


They found that despite the gargantuan size and weight of the structures gravity was not the primary force. Computed wind-induced “lift” was so great that they had to engineer the foundation to resist massive upward pull rather than downward gravitational load. What this means for the average dome builder is that attachment to the ground is essential to counter winds.
If you pour concrete piers
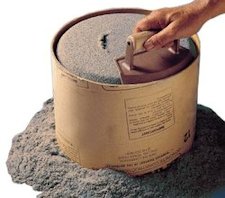
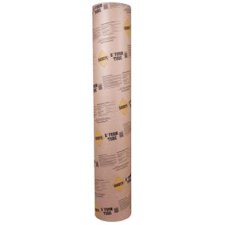
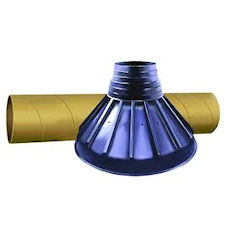
The most important aspect when pouring piers is to reach the bedrock. This applies to any climate and avoids shifting over time. The simple method to make piers is to use pre-fab forms commonly known as Sonotubes or the Bigfoot system. Holes are dug, gravel is packed on the bottom, the form is inserted into the ground and concrete is poured into them.
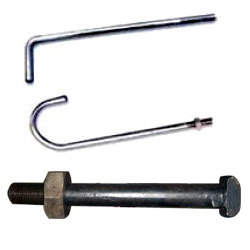
You`ll need anchors inserted at the time of the pour. These will be your attachment points to your dome. The types of anchors allowed may vary depending on your structure type and building authority.
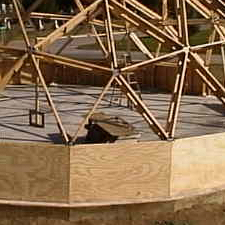
You can have piers go higher than ground level. This creates a riser wall section that you can cover with plywood or other sheeting. It also serves as a protected area that is more resistant to all kinds of hits, scrapes, etc… It’s ideal to hide wiring, plumbing and ventilation.
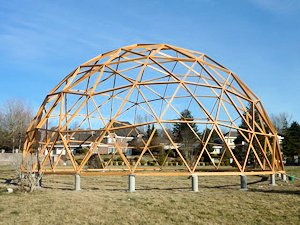
An alternative to a traditional concrete slab
In cold climates you can make a different type of slab called a frost-protected shallow foundation (FPSF). It is insulated with styrofoam boards so as to raise the freezing point. This is a proven method successfully used for decades in scandinavian countries, Canada and other parts of the world. They are simpler to make than traditional foundations. They require less excavating and less concrete, therefore less expensive.
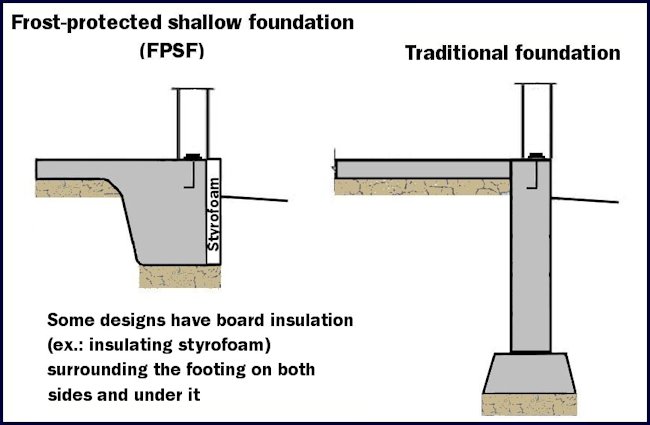
This type of slab protects against frost damage without excavating below the frost line. Styrofoam insulation around the outside directs heat loss from the building towards the foundation. Because of its thermal insulation footings can be just 12″ to 16″ below grade, compared to a traditional foundation requiring 48″ or more (depending on the area’s frost line – building inspectors and town engineers will have this information).
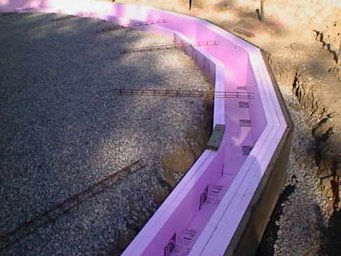
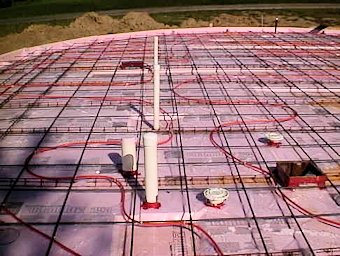
Steve Tiffany has a website detailing every step of construction of his dome home. Click here to visit.
Wind and snow loads and your concrete slab
These are the 2 forces that affect a geodesic dome structure the most, just as with a traditional structure. And this is where how you attach your dome makes all the difference.
Wind: Though geodesic domes are very resistant to wind forces due to their aerodynamic shape, wind still creates stress on its surface. Pressure on on one side will be transmitted on the opposite side. This is one of the important reasons to anchor the dome at each vertex to minimize the effect of wind load.
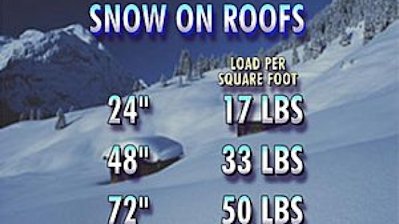
Snow: Snow loads create even greater stress on a geodesic structure. A typical roof on a house is engineered to support 20-25 lbs per square foot. As you can see on the image below a small roof of 1200 square feet (2 slopes of 20′ X 30′) with 24″ of snow weighs 20 400 pounds or more than 10 tons.
For a geodesic dome with a similar surface area (normally the dome is considered to have a snow bearing surface down to approximately 1/3 from the base), it means all the weight will transfer down on the base of the dome, forcing on the structure downwards and also outwards.
Good Karma Domes is a well-established dome builder which also offers DIY dome plans of many types. They offer sample foundation plans that you can view in PDF format, below.


