
Dome Cover Calculator
We put together a dome cover calculator for geodesic domes of 1/2 of a sphere. It’s available for download as an Excel spreadsheet. It will calculate gore (section) dimensions, height and width along with coordinate points to help you draw the outline of the gore.
Simply enter your dome diameter and the number of gores. The results are given in feet and 16th of an inch (no need to convert decimals into fractions of an inch, it`s all done for you).
Imperial version (feet, inches) |
Metric version (meters, cm) |
| Download in .ZIP format | Download in .ZIP format |

Calculating how many gores you need
The number of gores required depends on the width of your fabric.
Example: let’s say you are covering a 40-foot diameter dome. Your circumference will be 125.66 feet.
If your fabric is 60 inches (or 5 feet) wide, you need 125.66 / 5 = 25.132 gores.
Because you need more than 25 gores, your actual required number is 26. So on the spreadsheet change the number of gores to 26.
Adding extra width for seams
You will need to add extra width to each gore in order to sew them together. 1″ or 3cm on each side of the gore should be more than sufficient.
That means that AFTER YOU CALCULATED YOUR GORES you need to have enough fabric width left over on each side of the gore for a seam. See below for an example.
Example: your fabric is 60 inches wide. Your calculated gore width is 55 inches before adding extra width for seams.
You decide to add 1″ on each side for seams = 2 extra inches to the gore width
| CALCULATED GORE WIDTH | SEAMS WIDTH | TOTAL GORE WIDTH | LEFT OVER |
| 55 | + 2 | = 57 | 3 inches to spare |
In the example above, you added 2 inches to your gore width and you still have 3 inches to spare.
To sew gores together your calculated gore width should always be 2 inches (or 3cm) less than your total fabric width.
How snug will the cover be?
Well, that depends on the material and even the frequency of the dome. The higher the frequency, the rounder the dome surface is and the better fit your cover will have. If your material naturally strecthes, then you will have a looser or tighter fit.
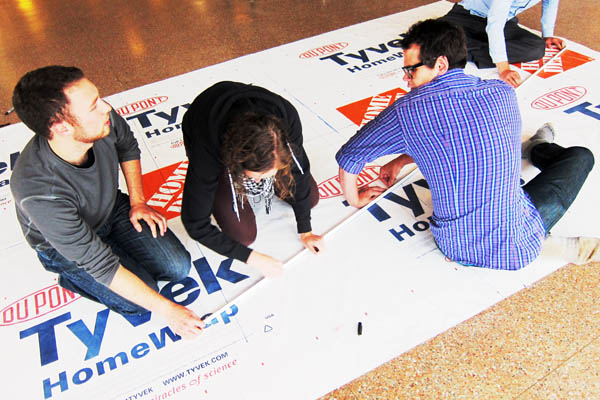
See how a team of friends made a cover using the cover calculator
A different way to tie down your cover
Also keep in mind the hubs can serve as attachment points for your cover. This way the cover moves less, will have more tension and looks better. You can punch a hole where the bolt is and add a grommet with a piece of extra fabric to strengthen the grommet. To avoid water leakage use rubber pads under and over the grommet.
To hold the grommet in place, you need to insert the bolt from the inside so the tip sticks out on the outside. Look at the image below.

For the final touches
It is suggested to make all your gores except for one. The last remaining one will be used for the entry (door). After putting your cover on the structure, you will see how tightly it shapes over the dome and be able to measure more precisely adjust the width.
Cover under tension: when fitting the cover on the dome you should consider putting grommets all around the bottom of your cover. By doing so you can thread a rope or wire that pulls on the cover all round the circumference.
The last piece: pull both sides of the assembled cover (except the last gore) towards each other, then measure how wide the last gore needs to be. Of course if your cover is already under tension, the last piece will be easier to calculate. Measure the width at different heights then cut out your last gore to sew to the cover.
Openings: if you plan on adding windows and vents, install your cover first, and then cut out the areas. This way you are certain your opening will be were you want it, avoiding a window to be right on top of a strut. You’ll most likely need to sew the window flaps, maybe also add zippers and you can’t do that on site.

